
Saturday, October 6, 2012
Madcatz TE Dual Mod Part Trois
Wednesday, October 3, 2012
Madcatz TE Dual Mod Part Deux


Then, for shi's and gi's, I connected a single Sanwa OBSF-30 to the ChImp board and connected it to my computer to give it a little test. The computer recognized the board correctly and button triggered just fine. I now had an uncased, single button controller.
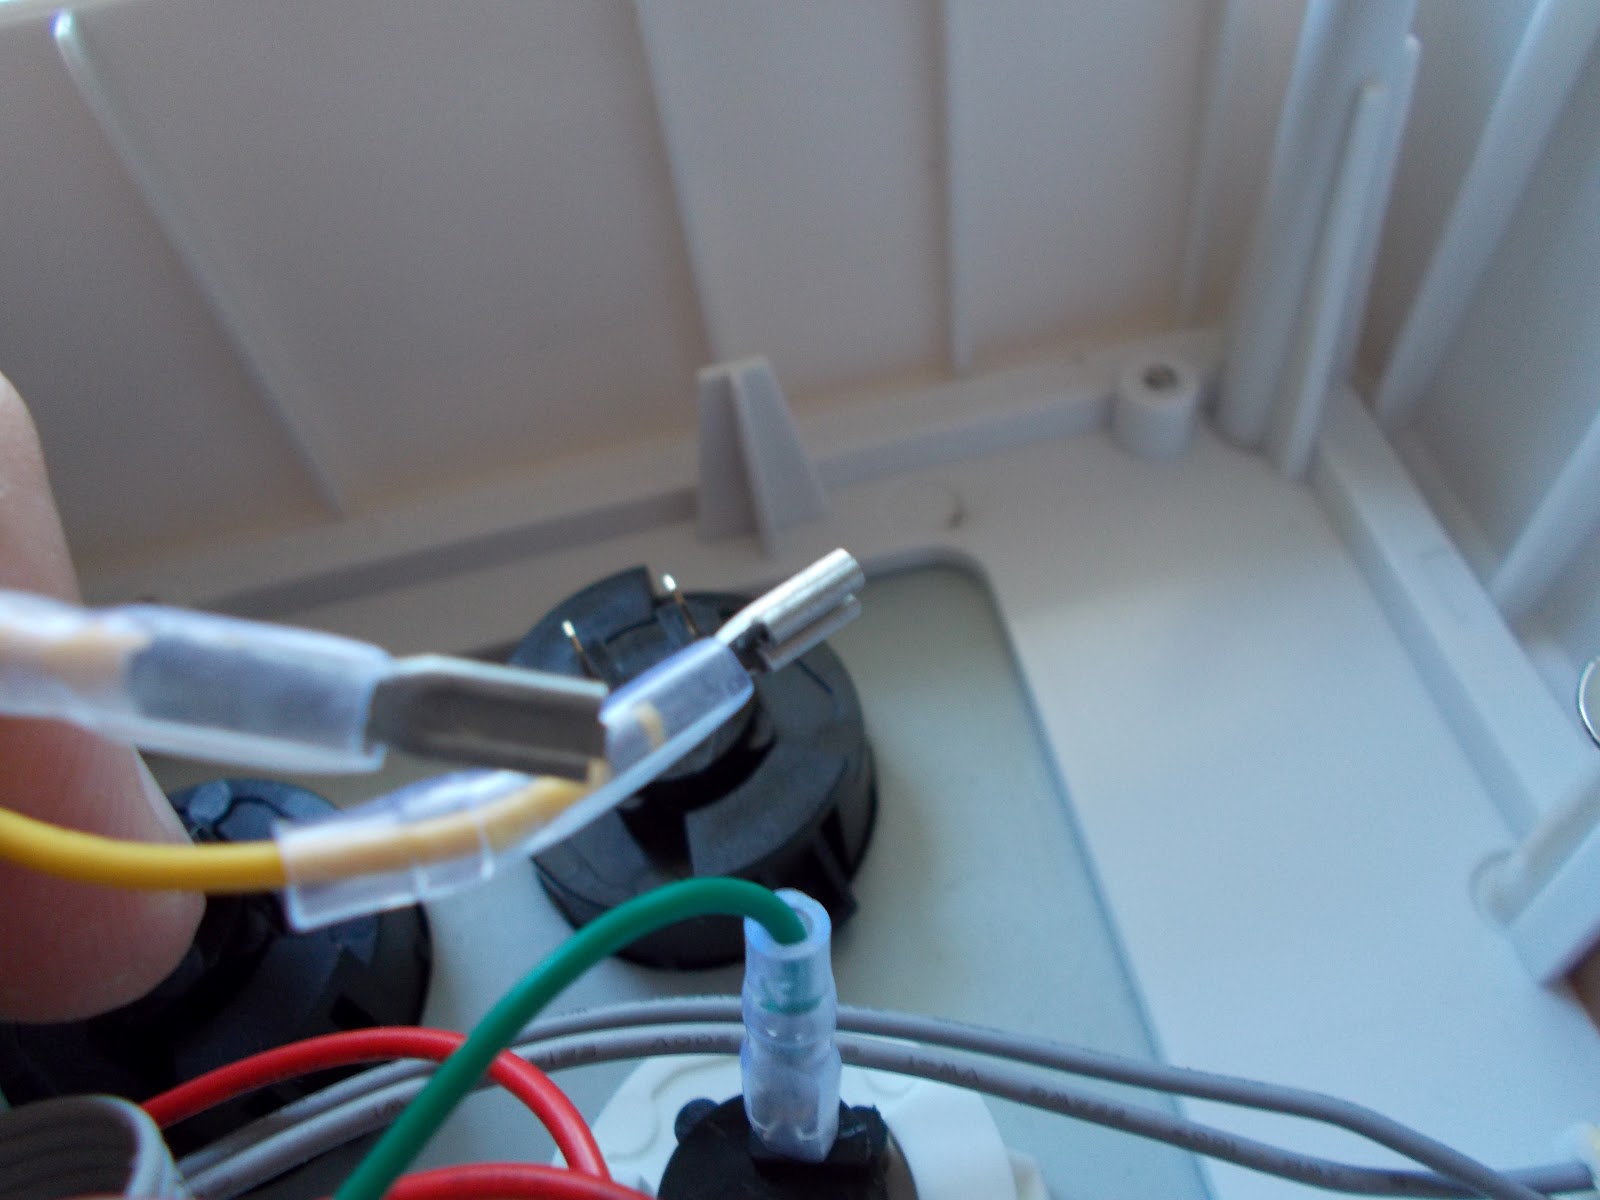
 I separated and stripped away a portion of each wire of the ribbon cable for the joystick and attached a wire to each direction so that the ChImp could piggyback the signal from it and connected those wires to the new board and plugged the ribbon cable back into the 360 board. I then tested it to yet again, positive results.
 Then I basically repeated the process to get each joystick direction to go to both boards for all 8 face buttons as well as the start and select buttons. Now, with all the of the buttons and stick connected, I could again test all of them with my laptop in it's default PS3/PC configuration and then forced it into 360 mode and tested it there too.
 The only thing left to do is solder a connection directly to the home button on the board so that we have a guide/home button as well. Oh and find a way to make this ridiculous spaghetti bowl a little neater before I close everything up and call it done. Still easier than all the b.s. I had to do to make my Mayflash.


Monday, October 1, 2012
Work begins on Oliver's Madcatz TE 360
The intent of this project is to take a Madcatz Tournament Edition 360 stick and make it playable on both 360 and PS3. I will be using the ChImpSMD (Godlike Controls) board to make this possible. In addition to this, per the client's request I am installing an octogate on the joystick, effectively changing the feel considerably.
 Opting for a more complete disassemble than most other modders use, rather than just take the faceplate off with some hex keys, I've gone in through the bottom and muscled my way through what felt like thirty screws covered in a loc-tite-like solution. My hands are too big to screw around with anything but total pull apart haha. Anyway, this left two large parts still connected by wires. Fairly cumbersome.
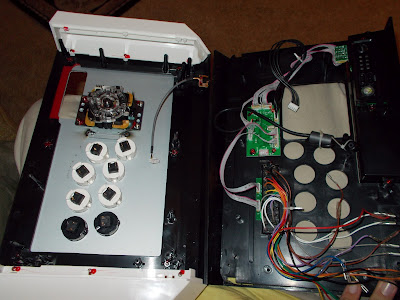 I disconnected the wires from the buttons that ran to the terminal strip, the wires that ran to the joystick and the one that went to the guide button area so that the two halves could be held separately. In this configuration, I should mostly only have to deal with the portion of the stick pictured on the right.
 Pressing in the four plastic tabs and pulling out the old gate gets easier every time I do it, but was reminded that this device is pretty much the only thing holding the joystick itself together. Once accidentally disassembled, I took this opportunity to check the stick itself for any defects or wear and it seemed to all check out. Popping in the new gate was as simple as connecting two legos.


Now I just need to wait for the part to arrive and according to tracking, that should be tomorrow. In the meantime, Mochi keeps guard over the disassembled stick.
Saturday, September 29, 2012
Work on Meghan's Madcatz SE

Here, I've begun to mod my wife's Madcatz Street Fighter IV SE Arcade Stick. While this is primarily a cosmetic modification, the buttons are improved, and not too long ago, the ▲ button began to become intermittently unresponsive, so this fixes that, but was not the original intention.
Opening the case, disconnecting the wires, removing the buttons, popping in the new ones and reconnecting wires was as easy as it always is with these. Once you've done this once, you can do it in your sleep. Each button has it's own color coded wire and I don't need to worry about which wire goes to which pole on the button either. The wires already had quick disconnects on them and even slip-on shielding.

With the buttons in place, all that was left was to swap out the balltop and add on the dust washer set. Now, because I didn't want to have to completely disassemble the stick today and it would have to happen later when we do the art and potentially, the painting, I left out the internal dust washer. It'll be okay for now.

The stick in it's current state. Not the final product, but I have to say, I like those colors even with the stock artwork on there. Pretty snazzy.

Here is the proposed artwork with mock up buttons and whatnot in where they should be according to the SE layout. This isn't quite right, but I've got the official one sitting on a .psd I don't feel like exporting. So deal with this.
Tuesday, May 22, 2012
Troll Something Round 2
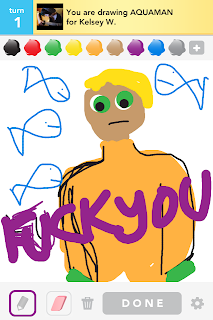
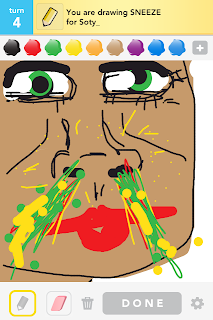
More of me drawing things that are either 1.) not the right thing at all 2.) barely the right thing or 3.) the right thing, but in a ridiculous manner 4.) just plain awesome
NSFW


NSFW


Friday, April 6, 2012
DOOOOOOOM
Okay. Now it's done. Snipped out the nasty bit, connected the four wires, wrapped it all up and it's as right as rain. I played a little Vampire Savior, booted up a game that had windows live and it was responsive to the guide button. All seems well. 


Doomstick Repair
I once had a buddy named Russ


Whose problems did cause him to cuss
The cord on Doomstick (8 buttons is dick)
I repaired it without too much fuss

Showing stripped out wires to be reconnected.

Doom's guts.

The front, for yanno, whatever reason.
Actually, it's not done yet, but once I get off work this morning, it will be.
Subscribe to:
Posts (Atom)